- Cost. Every mashing option I looked at appeared to be relatively expensive, especially direct fire ones. But I found even the Gott or Rubbermaid options became expensive as well when one factored in the manifolds.
- Time. I was afraid that would spend too much time doing a batch and it would take all of the fun out of it.
I settled upon CPVC tubing: it has the advantages of being cheap (3.55 for a 10 foot piece of 1/2 inch diameter), easy to work with (rotary tool cuts it easily), and is safe for water as hot as 180 degrees--hotter than anything in brewing. Fitted with some elbows, tees, and plastic tubing, it's an adequate way to get into all-grain mashing. I've found the that it only adds about an hour and a half to my brewing process.
Materials List
From your local hardware or big bloc store:
24 Qt Coleman Cooler

1 10 foot piece of 1/2 inch diameter CPVC piping
5 CPVC elbow fittings

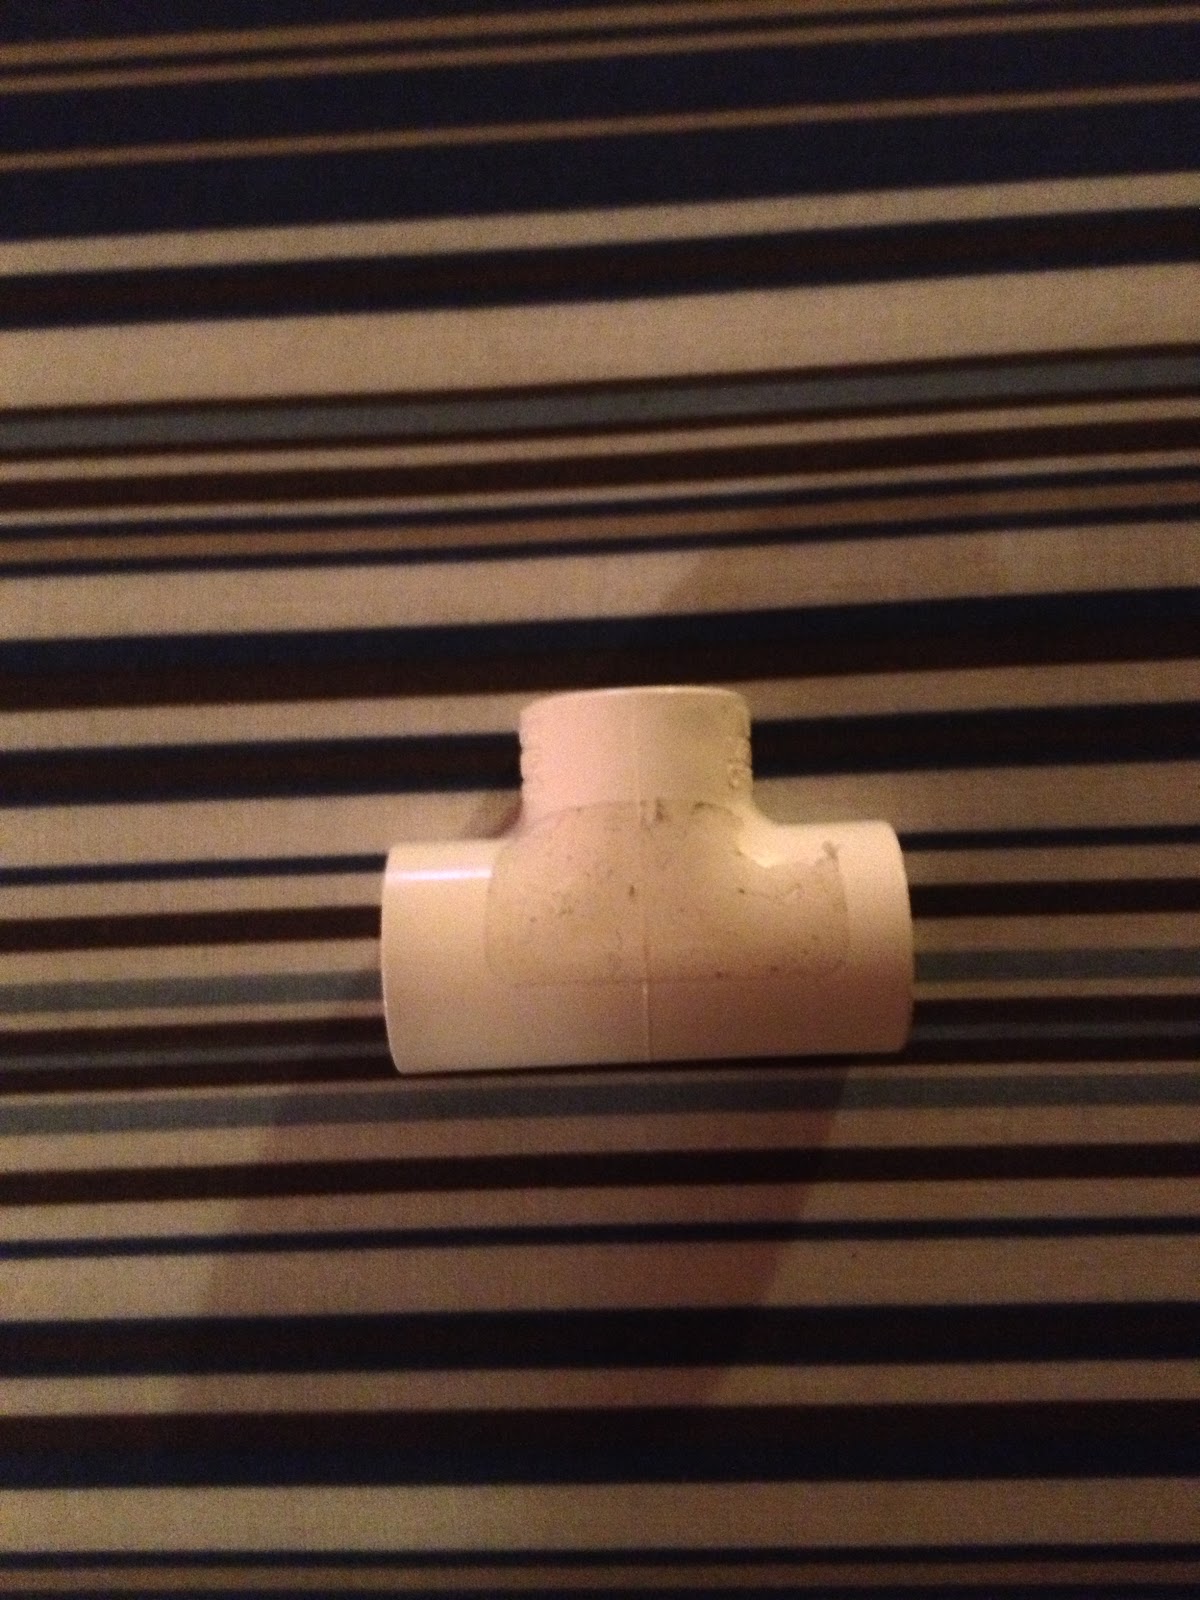
3 CPVC tee fittings (make sure you get the same size (1/2 inch) as the piping
One 1/2 inch CPVC female adapter (that's the white part...the brass part is the hose barb)

From your local homebrew store:
Length of 3/8 food grade plastic tubing
1 large Flow control hose clamp
1 small hose clamp
1 male NPT hose barb
Construction Steps
Note, this assumes the same cooler as above. If you're using a bigger one, than adjust accordingly. I used John Palmer's How to Brew for the dimensions:
- Cut two pieces of the CPVC tubing to 18 inches long.
- Cut one piece 13 inches long.
- Cut one piece 4 inches long
- Cut four pieces 3 1/4 inch long.
- Using a rotary tool disc cutter, cut slants every 1/2 inch into the three longer pieces.

Now its just a matter of assembly:


The plastic tubing goes out the drain of the cooler--you may have to use some StarSans to lube it up a bit.


